Contour Drawing
You will create a drawing using 5 items. You should pick items that you are familiar with, that have a decent amount of line, and that are not too difficult for your level. You will arrange these items so that some are in the front and some are in the back. You want to add visual interest as well, so tipping items on their sides, or turning them in some fashion will accomplish that. See below for examples and further directions.
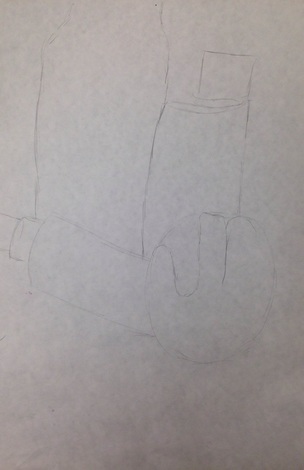
Once you have picked out your 5 items and arranged them, you will begin your drawing. To start, get the basic shape of each item on your paper. Pay attention to the height of one item to the next. This part of the drawing is done by sketching (drawing lightly), so that it can be erased as you get into the details of the drawing. (See picture above)
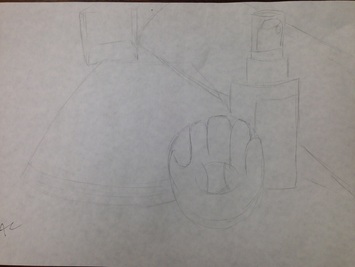
Start adding more line details. Pay attention to what you see on the object, and make sure to include those details in your drawing. (See picture above and below)
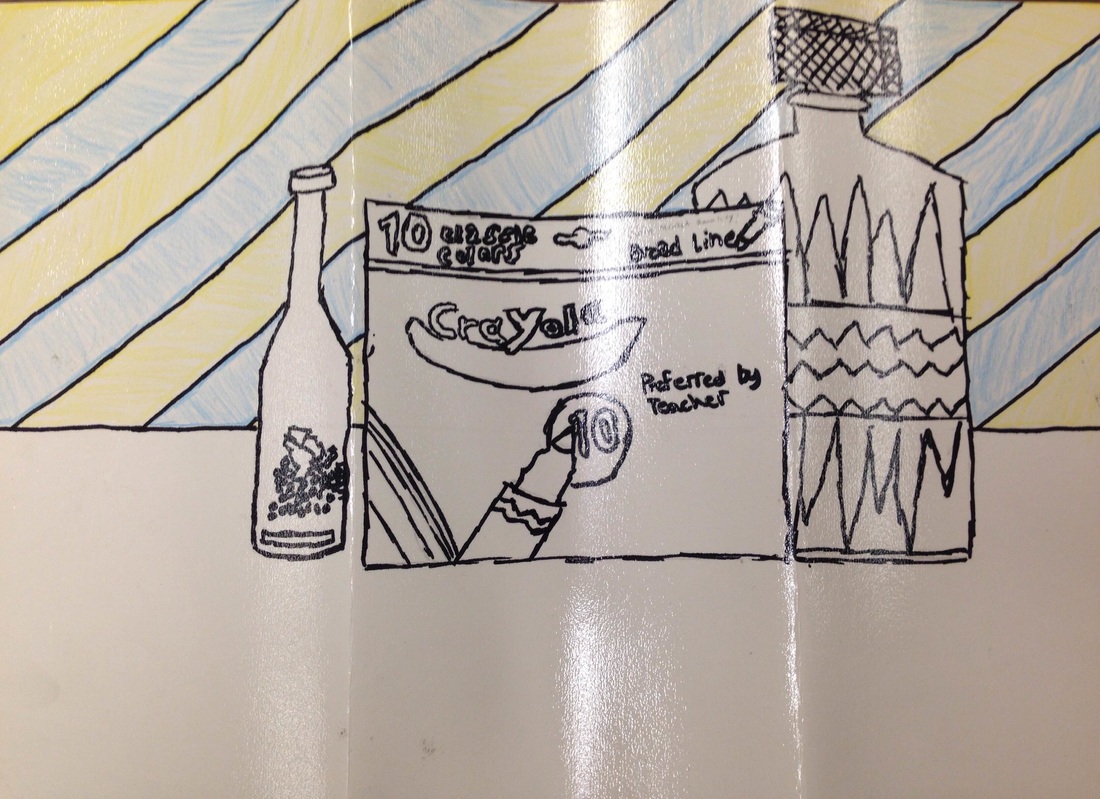
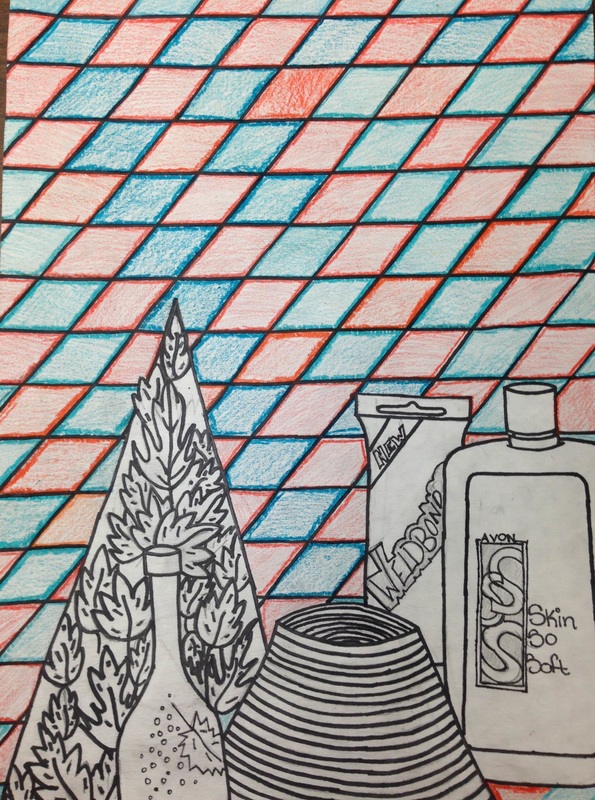
When you have added all of your lines, you will trace all of your pencil lines with a black sharpie marker. After that, erase any stray pencil marks that you can still see. Add a patterned background and trace with a sharpie. Finally, color your background using crayons, colored pencils, or markers. Do not color your contour drawing.
Finished Pieces
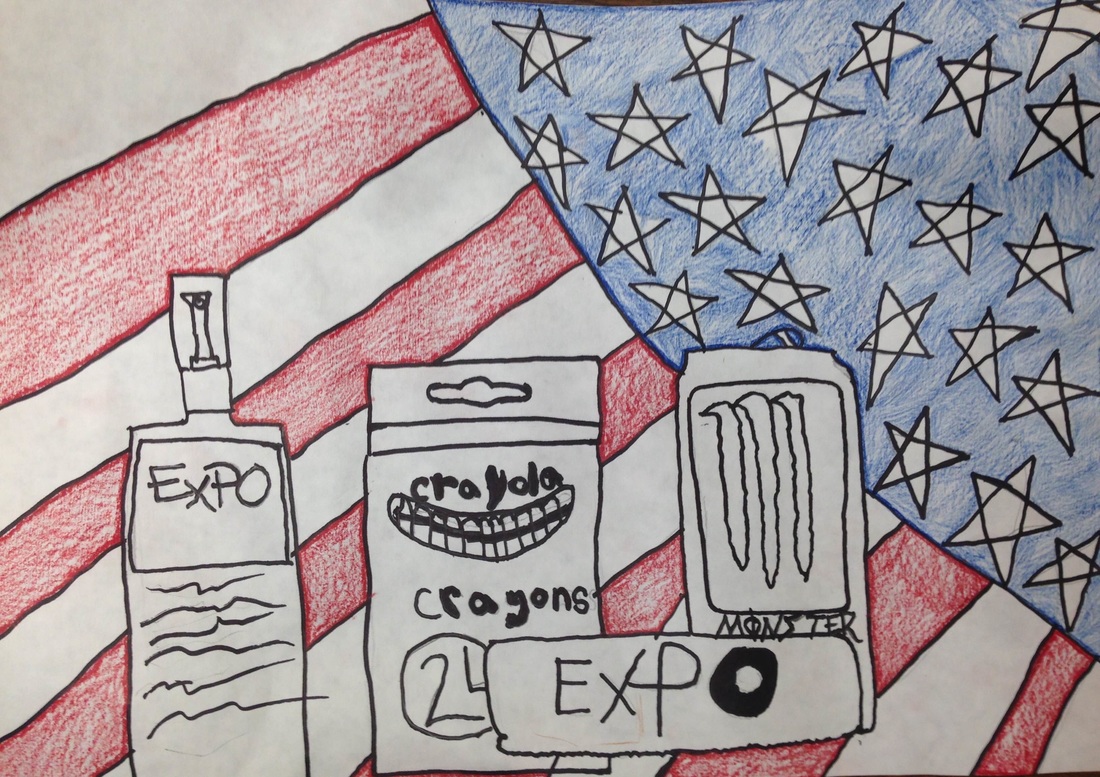
The student above used the flag as the background, and as the fifth item.
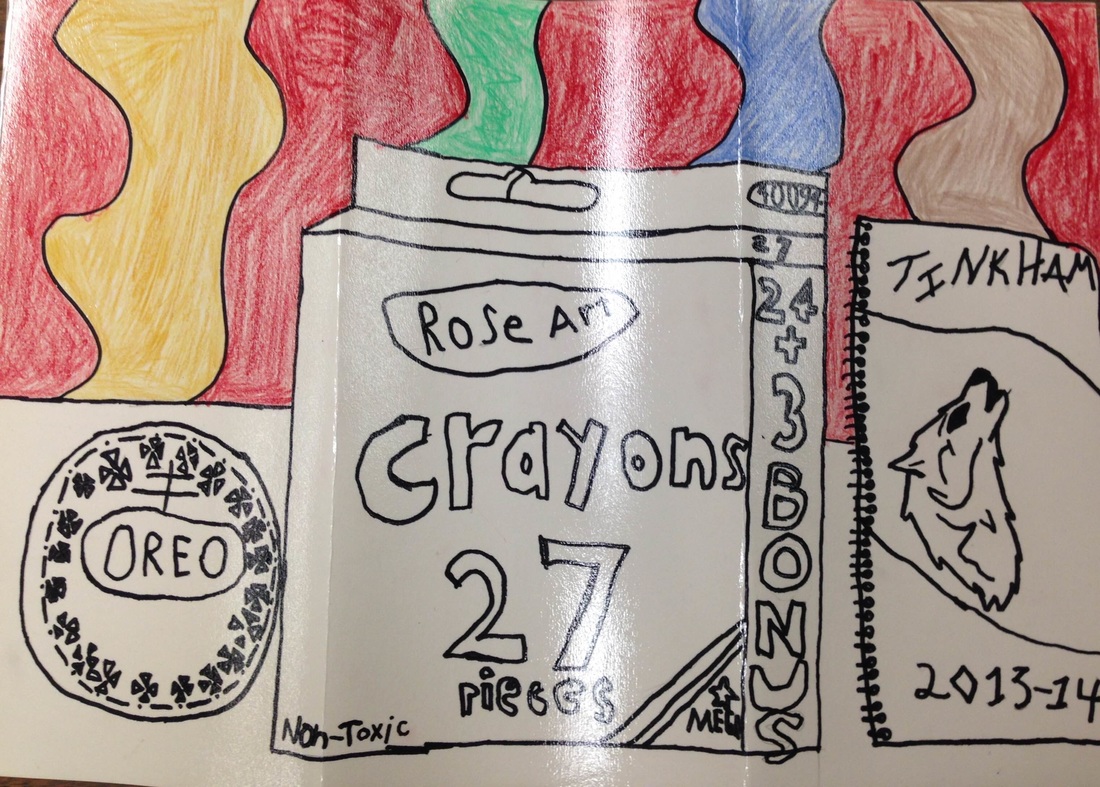
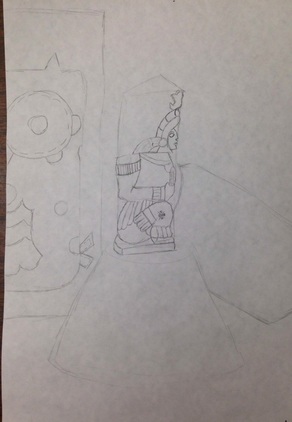
This students above and below did not used the required 5 items, but are great examples of drawing the lines/details that are on the objects.