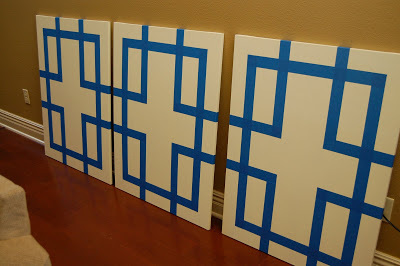
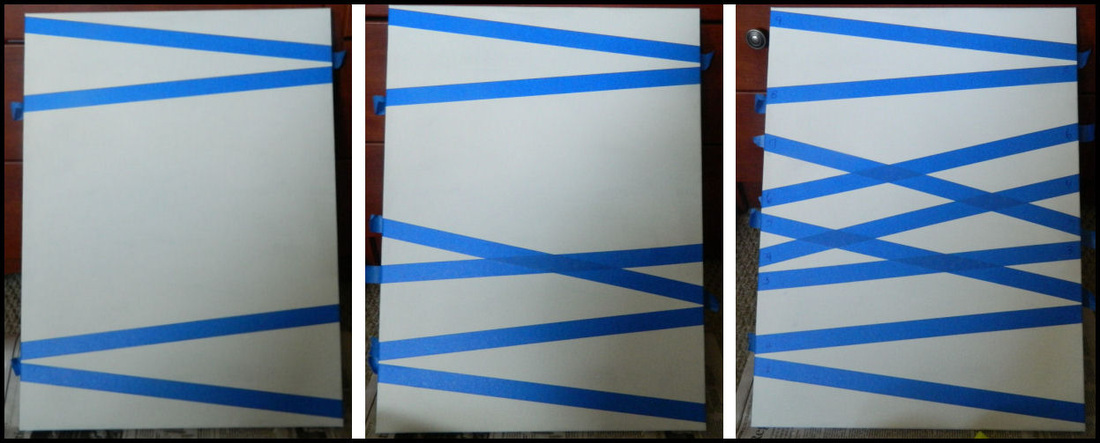
Using tape to create designs
Watch this to see how it's done!
Project Guidelines
1. Paint the entire paper before you do any taping. Use the large tempera cakes (they are in the large white trays). You can use more than 1
color to do this.
2. Use painter's tape (any other tape will not come off) to create new spaces on your paper. The tape will go from one side of the paper to the
other. Do not leave tape hanging in the middle of the paper with nothing attached to it.
3. Paint each new shape a different color - the same color may not touch itself, but may be used in another area. Plan your colors out, this is
not a project where you use random colors, you should have a color scheme (ask me if you aren't sure what that is).
4. After all areas have been painted, carefully remove the tape.
5. Make sure your name is on the back, and then turn in the finished piece.
6. Questions? Ask!
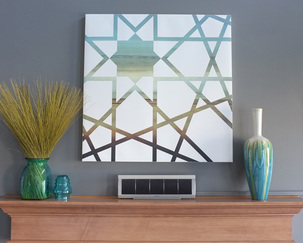
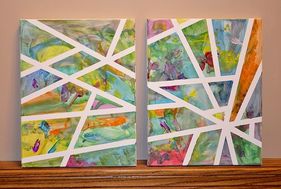
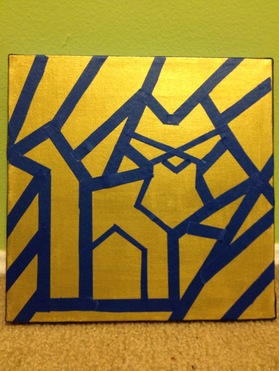
Examples