What IS one-point perspective?
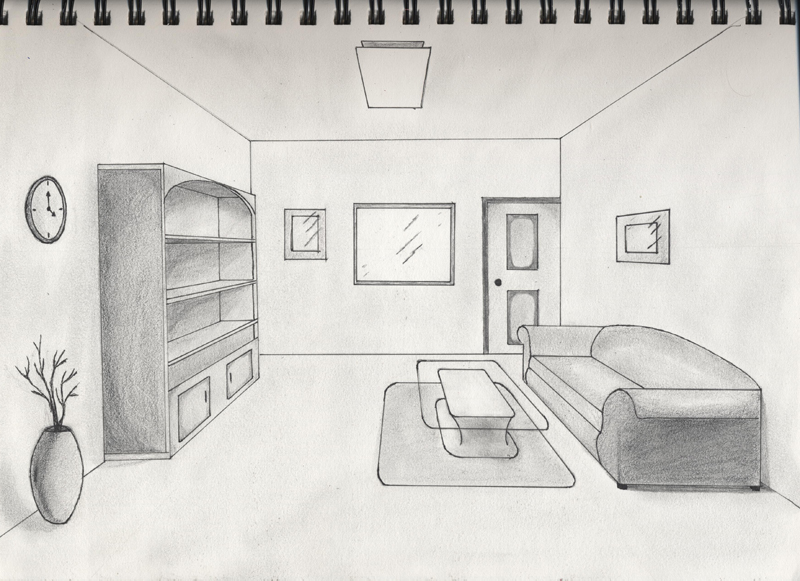
Click on the picture of the room. It will take you to a tutorial that will familiarize you with the terminology associated with drawing in perspective. There will be two boxes- the gray box on the left gives you information, and the brown box asks you to find something. If you don't understand what it is asking you to find, refer back to the gray box.
Drawing a room in perspective
This video shows you how to set up your drawing. Watch the video, then get a piece of paper and create a room of your own. It may be helpful to watch the video as you work. If you need additional help, you can do a Google search for "one point perspective tutorials". Don't forget to use a ruler, as straight lines are part of your grade.
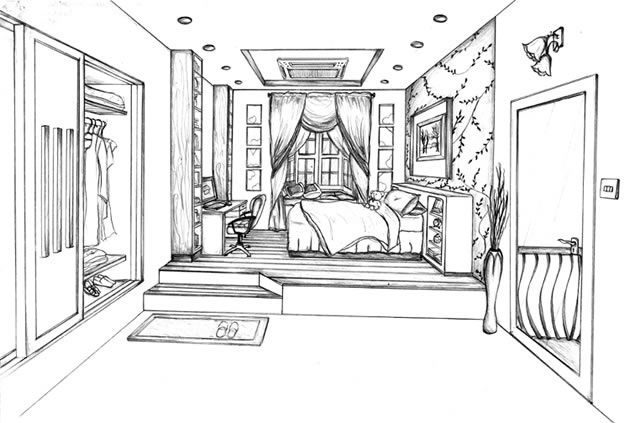
Step-by-step instructions for setting up your room, and how to draw furniture.
Guidelines for your project
1) You must draw a room. It must have a window, a door, an overhead light and furniture.
2) You must create an original drawing (which means that you may NOT copy anything in a video).
3) You must have either a wood or tile floor (I can show you how to do this).
4) Your room must have a theme (kitchen, living room, dining room, bedroom, etc), and everything in it must belong there.
5) The back wall must be drawn to fit into theme of the room. For example - if you are drawing the living room, what would a visitor expect to see on
that wall? Note: Because that wall is technically across the room from you, everything drawn on it will be flat (which means you don't have to use
perspective).
Drawing tips from the Virtual Art Instructor! These will improve your drawing and make it a little easier for you!
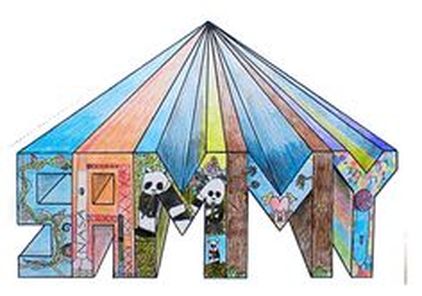
1 Point Perspective Name Project
Make sure that your project has the following components;
1. The front of your letters must have design in them. Each letter can be different or the same.
2. Your lines must go to the vanishing point (like the picture below).
3. Your piece must be outlined in black.
4. The front of your letters can be colored in whatever fashion you would like.
5. The 3D part of your name should not distract from your name. Stick with one color per letter, or one color for the entire background.
Click on the following image to see a tutorial on how to create your name in 3D.